
Why 12V and not simply 230V?
Most people think of garden lighting as burying cables, applying for permits and hiring an electrician. That's exactly why the Garden Lights 12V system is so popular: it operates on low voltage, so you can install it completely yourself without specialist knowledge or permits.
12V direct current is the voltage used in cars and boats — completely safe to touch, even if the cable is damaged. Children and pets are not at risk. The cables don't need to be buried deep (5 cm is sufficient, or you can simply lay them under a layer of mulch). And the entire system is expandable: buy two lamps today, add three more next spring — everything fits on the same network.
How does the Garden Lights system work?
The system consists of three elements that work together:
- Transformer — converts 230V mains voltage into safe 12V. Connected to an outdoor socket.
- Main cable — runs from the transformer through the garden. All fittings are connected to it via simple plug connections (no tools needed).
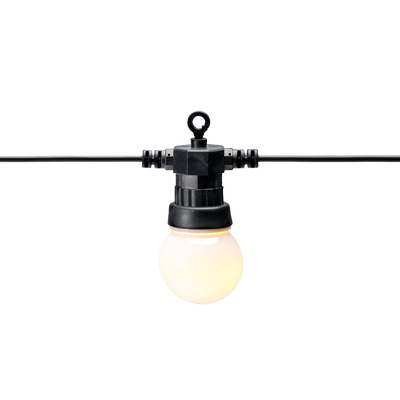
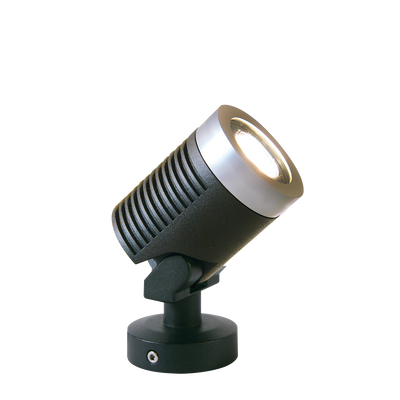
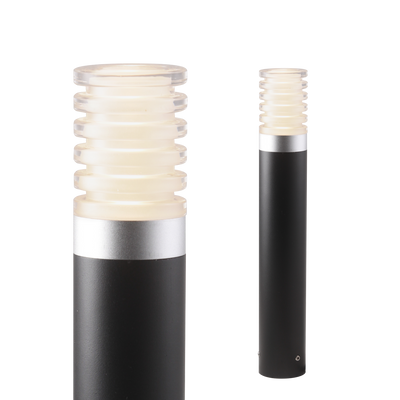
- Fittings — the lamps themselves: spotlights, uplights, deck lights, wall lamps, bollard lighting and ambient lighting.
The clever thing about the SPT cable system is that you simply push the lamps onto the cable without cutting or soldering. Want to move a lamp? Pull it off and push it in elsewhere. That's how flexible the system is.
The components: transformer, cable and fittings
The transformer: the heart of the system
Garden Lights offers transformers in three power ratings: 24W, 60W and 150W. Which one you need depends on the total wattage of the lamps you want to connect. Add up the power of all the fittings you want to connect and choose a transformer that can handle at least 20% more than your calculated total — this prevents overloading.
The transformer has a built-in timer and/or daylight sensor on most models, so the lighting switches on automatically at sunset and off when you want it to.
The main cable: the backbone of your installation
Garden Lights offers main cables in various lengths (10, 15, 25 and 50 metres) and two versions: fixed and flex. The flex cable has connection points at fixed intervals for easy fitting connection; the fixed cable gives you more freedom to decide where to make the connections yourself.
Fittings: choose the right lamp for each location
- Spotlights — for directed light on trees, shrubs or sculptures. Included ground spike easy to move.
- Uplights — for ground installation; invisible during the day, spectacular in the evening.
- Deck lights — flat recessed lamps for decking or patio tiles.
- Wall lamps — for façade, pergola or fence.
- Bollard lighting — garden posts and bollard lights for paths and driveways.
Installation step by step: from box to illuminated garden
Step 1: sketch your garden
Draw (roughly) a floor plan of your garden and mark where you want the lamps, where the outdoor socket is and which route the cable can best take. This prevents your cable from being too short or having to take a detour around a patio.
Step 2: calculate the power required
Add up the wattage of all the fittings. Example: 6 spotlights of 3W + 2 uplights of 3.5W = 25W total. Choose a 60W transformer for enough room to expand later.
Step 3: lay the cable
Lay the main cable from the transformer through the garden. Use cable clips or stakes to guide the cable along a fence or hedge. Where the cable runs through the garden, hide it under mulch, gravel or a layer of soil.
Step 4: connect the fittings
Push the connector of each fitting onto the main cable. No tools needed — the connection clicks into place. With spotlights, push the ground spike into the ground in the desired direction.
Step 5: set up the transformer
Connect the transformer to the outdoor socket and set the timer or daylight sensor. Test the installation and adjust the direction of the spotlights as desired.
How many lamps can I connect to one transformer?
That depends on the wattage of your lamps and the capacity of your transformer. As a rule of thumb: use a maximum of 80% of the specified transformer power. So a 24W transformer can be loaded with a maximum of 19W of lamps, a 60W with 48W and a 150W with 120W.
Tip: note the wattage of each lamp on your sketch. This way you keep track of how much room there is for expansion, without having to guess later or risk overloading your system.
A smart cable plan: how to prevent problems later
The most common mistake when installing garden lighting is a cable that's too short. When measuring, always account for:
- Detours around patios, ponds and flower beds
- Extra length for connections at each fitting (allow 30 cm extra per lamp)
- Future expansion: lay the cable slightly longer than currently needed, so you won't have to extend it later
Multiple shorter cables (with an extension cable) work better than one very long cable, because voltage loss occurs over large distances. Garden Lights sells extension cables of 2, 6 and 10 metres for this purpose.
Expanding with the Garden Lights Smart series
Want to control your lighting via an app, dim it or have it react automatically to sunset? Then the Garden Lights Smart series is the logical next step. The Smart fittings operate on the same 12V system and are fully compatible with regular Garden Lights components — you don't have to start over.
Via the Garden Lights Gateway (Wi-Fi to Zigbee) you control all Smart lamps with the app, or link them to Amazon Alexa, Google Home or the Philips Hue Bridge for integration into your existing smart home.
Maintenance and warranty: little work, lasting enjoyment
Garden Lights fittings are made of stainless steel, zinc alloy or aluminium and have an IP rating of at least IP44 (splash-proof) to IP67 (fully waterproof). They are designed to remain outdoors all year round without needing to be stored away each season.
Maintenance is limited to occasionally cleaning the fittings with a damp cloth and checking the connections. All Garden Lights products at Boender Outdoor come with a 5-year warranty.
Garden Lights installation instruction videos
Prefer to watch how it works before you start? Garden Lights has official instruction videos on YouTube. Below are the most useful ones for a first installation.