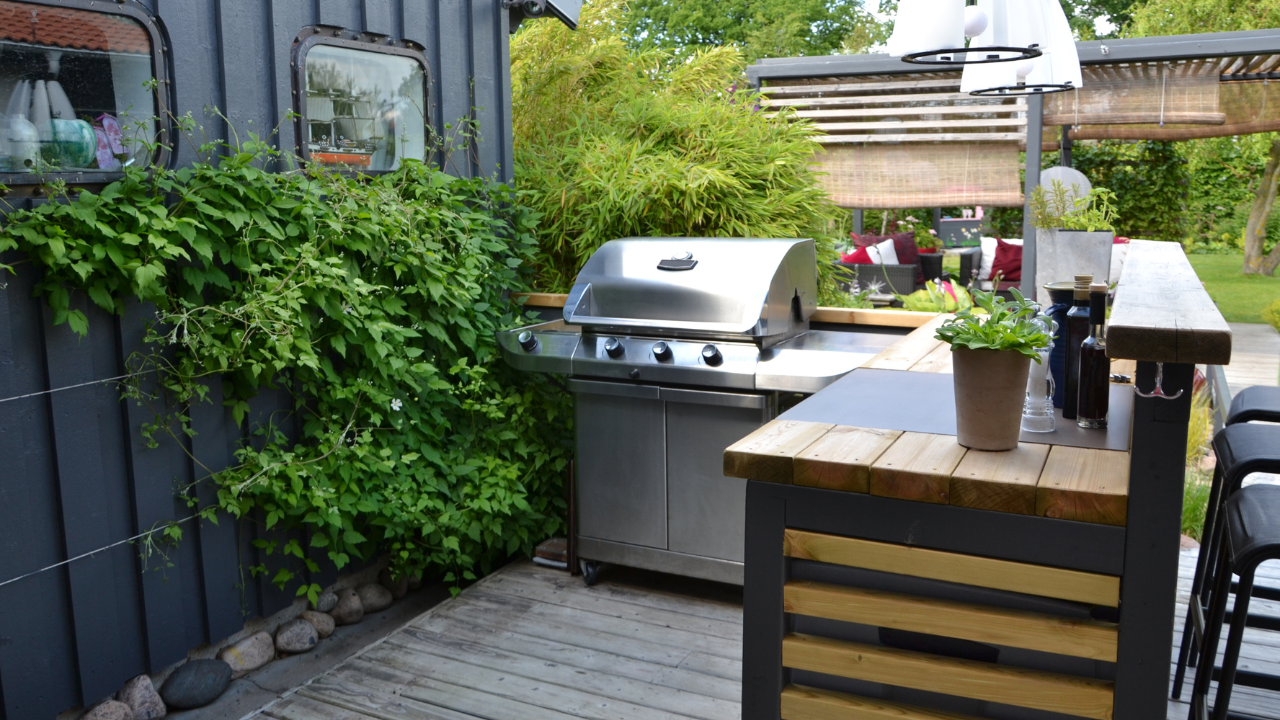

An outdoor kitchen turns cooking into part of the evening rather than a chore indoors. You chop, grill and serve in one place, and your guests can sit right there with you. The good news is that you can largely build it yourself: a sturdy base, a worktop enclosure and a good barbecue are the essentials. In this guide you'll read how to approach it, from choosing the location and foundation to the worktop, the choice between a freestanding or built-in barbecue, and how to arrange power, lighting and water safely. Includes a step-by-step plan and a checklist.
In brief: choose a spot sheltered from the wind, not too close to the house wall or fence, on a level, solid foundation. Divide the worktop into three zones: preparing, grilling and serving. Preferably place a kamado freestanding on its own base next to the worktop. Have power, gas and water lines installed by a professional; you can connect 12V lighting yourself.
What do you need for an outdoor kitchen?
You can read what an outdoor kitchen actually is, and why it's more than a standalone barbecue, in what is an outdoor kitchen. Here we're focusing on building one yourself. At its most basic, you need four things:
- A barbecue to cook on, preferably a model that can stay outside, such as a kamado.
- Workspace on either side of the barbecue: a worktop on an enclosure or a sturdy table.
- Storage for charcoal, tools and plates, dry and within easy reach.
- Light for when it gets dark, because you want to see whether your meat is cooked through.
Running water and a power socket near the kitchen are handy, but not essential. Start with the basics and expand later.
Honest about the range
A complete Boretti outdoor kitchen is currently not available. If you want to grill on gas in your outdoor kitchen, take a look at the gas barbecues; built-in models are not currently part of that range. This guide assumes a charcoal kamado, which you place freestanding next to your self-built worktop. You don't need a gas connection for that.
Choosing the right spot
You don't move an outdoor kitchen around on a whim, so take your time choosing the location. Pay attention to these points:
- Wind and smoke: notice which direction the wind usually blows from. The smoke should drift away from your seating area, your windows and your neighbours.
- Distance: don't place a barbecue against the house wall, a wooden fence, a canopy or under overhanging branches. Keep to the clearances in your barbecue's manual.
- Route: being close to the kitchen door saves you carrying plates and shopping back and forth.
- Seating area: close enough to chat, far enough away that smoke and heat don't end up on the table.
- Sun and shade: cooking in full sun on a summer afternoon is no fun. Check where the shade falls in the evening.
For how to divide the rest of the terrace into zones, with a seating area, dining spot and lighting, read furnishing your outdoor living room.
A solid foundation
An outdoor kitchen is heavy. An enclosure with a stone worktop quickly weighs a lot, and a kamado itself is no lightweight either: the Keij Legend Large weighs 89 kg according to the product information. That's why you want a foundation that is level and won't sink.
- Tiles or clinker bricks laid on a well-compacted sand bed make a good base.
- A concrete slab is the sturdiest option, especially under a bricked enclosure.
- A wooden deck is less suitable under a barbecue: hot ash or a spark can damage the wood. If you do use one, at least place a heat-resistant surface underneath.
Give the foundation a slight slope away from the house so rainwater doesn't pool under your enclosure.
The layout: three work zones
Just as indoors, an outdoor kitchen works best when every spot has a job. Think in three zones:
| Zone | What you do here | What's there |
|---|---|---|
| Preparing | Chopping, seasoning, marinating | Worktop, chopping board |
| Grilling | Cooking on the barbecue | Kamado, tongs, thermometer |
| Serving | Letting meat rest, dishing up | Clear section of worktop, plates |
Make sure you have a clear section of worktop on both sides of the barbecue. That way you can set out raw meat on one side and a platter for what's cooked on the other. Under the worktop there's room for charcoal, tools and plates. To find out which accessories you really need and what can wait, read kamado accessories: what do you really need.
Match the height of your worktop to your barbecue. According to the product information, the Keij Legend has a working height of approximately 90 cm. If you build your worktop at roughly the same height, you can slide platters and tongs over to the grill grate without lifting them.
Worktop and enclosure: which materials?
Outdoors, your kitchen has to withstand rain, sun, frost and grease. So choose materials that are intended for outdoor use.
| Worktop | Advantage | Watch out for |
|---|---|---|
| Ceramic | Scratch-resistant, low maintenance | Heavy, needs a sturdy enclosure |
| Natural stone | Robust and heat-resistant | Some types need sealing |
| Concrete | Tough, can be poured yourself | Needs sealing against stains |
| Stainless steel | Hygienic, easy to clean | Gets hot in the sun, scratches |
| Hardwood | Warm and natural | Needs oiling now and then |
For the enclosure itself, you can brick it up, make a metal frame, or work with sheet material that is suitable for outdoor use. Don't let the bottom of wooden parts sit directly on the ground, so they can dry out. Treat wood with an outdoor oil or stain and allow a small overhang on the worktop so rainwater doesn't run down the cabinets.
Prefer not to build?
An outdoor kitchen doesn't have to be bricked up. A kamado with its own side tables, plus a sturdy garden table as a workspace, is also an outdoor kitchen, and you can always move everything later.
Freestanding or built-in barbecue?
This is the most important decision when building. A built-in barbecue looks sleek, but requires much more preparation.
| Aspect | Freestanding next to the worktop | Built into the enclosure |
|---|---|---|
| Building | Simple | Custom work, precise measuring |
| Heat and airflow | Free on all sides | Ventilation and clearance needed |
| Ash and air vents | Easily accessible | Space needed to keep them open |
| Changing later | Just roll it away | The enclosure has to fit |
A kamado is made of ceramic, and the outside gets hot. It also has air vents underneath and a damper in the lid, which you need to be able to operate easily. None of the kamados in our comparison are stated in the product information to be suitable for building in. Our advice: place the kamado on its own base in an open recess or directly next to the worktop, with space all around. If you still want to build it in, follow the manufacturer's manual and never build tightly against flammable material.
Kamados for your outdoor kitchen
A kamado suits an outdoor kitchen well: it can grill, smoke, bake and stew, and it needs no gas or power. To find out which Keij is right for you, with all the sizes and colours side by side, read Buying a Keij Kamado: Legend vs Pro. For an outdoor kitchen, these are the three most interesting options. The specs come from the product information.
| Model | What's included | Suits |
|---|---|---|
| Legend Large | Base, side tables, cover | A ready-made workspace |
| Pro Large | Base with wheels, cover | Next to your own worktop |
| Legend Large Solo | The kamado only | You already have a base |
Keij Legend Large: a workspace in itself
The Legend Large is a 21 inch kamado with a 47 cm grate, which according to the product information is good for 4 to 6 people. It comes with a steel base with large wheels, HDPE side tables with accessory hooks, a chip feeder for smoking wood, Divide & Conquer, an ash drawer and a protective cover. The working height is approximately 90 cm. The dome, lid, firebox and fire ring come with a lifetime warranty.
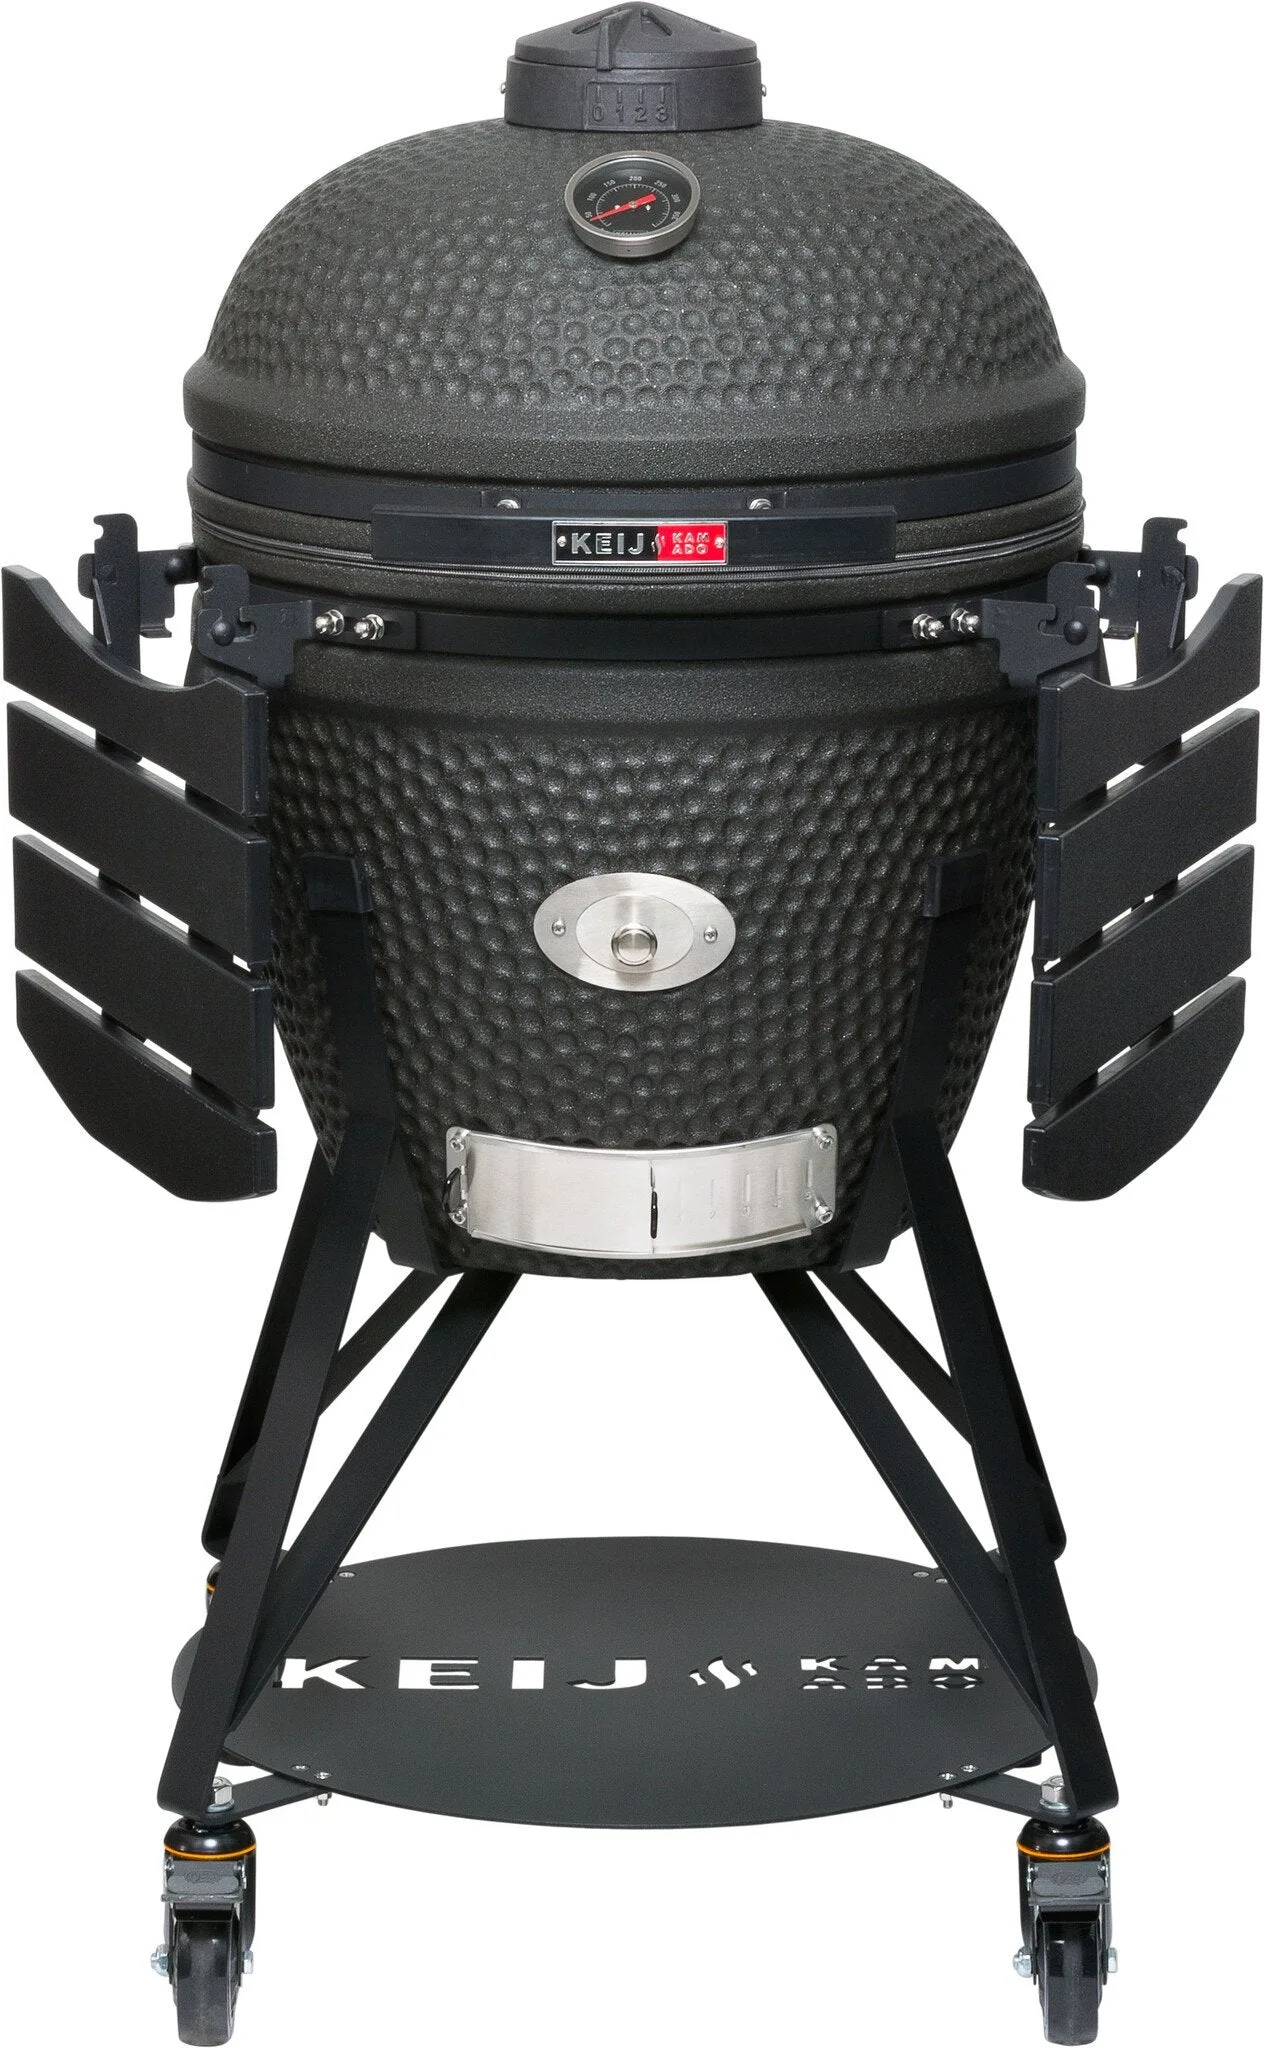
Keij Legend Black Large 21 inch
Why: the side tables give you workspace right beside the grate. Place it next to your worktop and you have a complete cooking station.
Keij Kamado Pro Large: the entry model on wheels
The Pro Large is the 21 inch kamado from the Pro series. The dome and firebox are made of cordierite ceramic, the grate is stainless steel, and the temperature range runs from 50 to well over 350 °C. A steel base with wheels, the Divide & Conquer system and a protective cover are included. It weighs 91.5 kg.
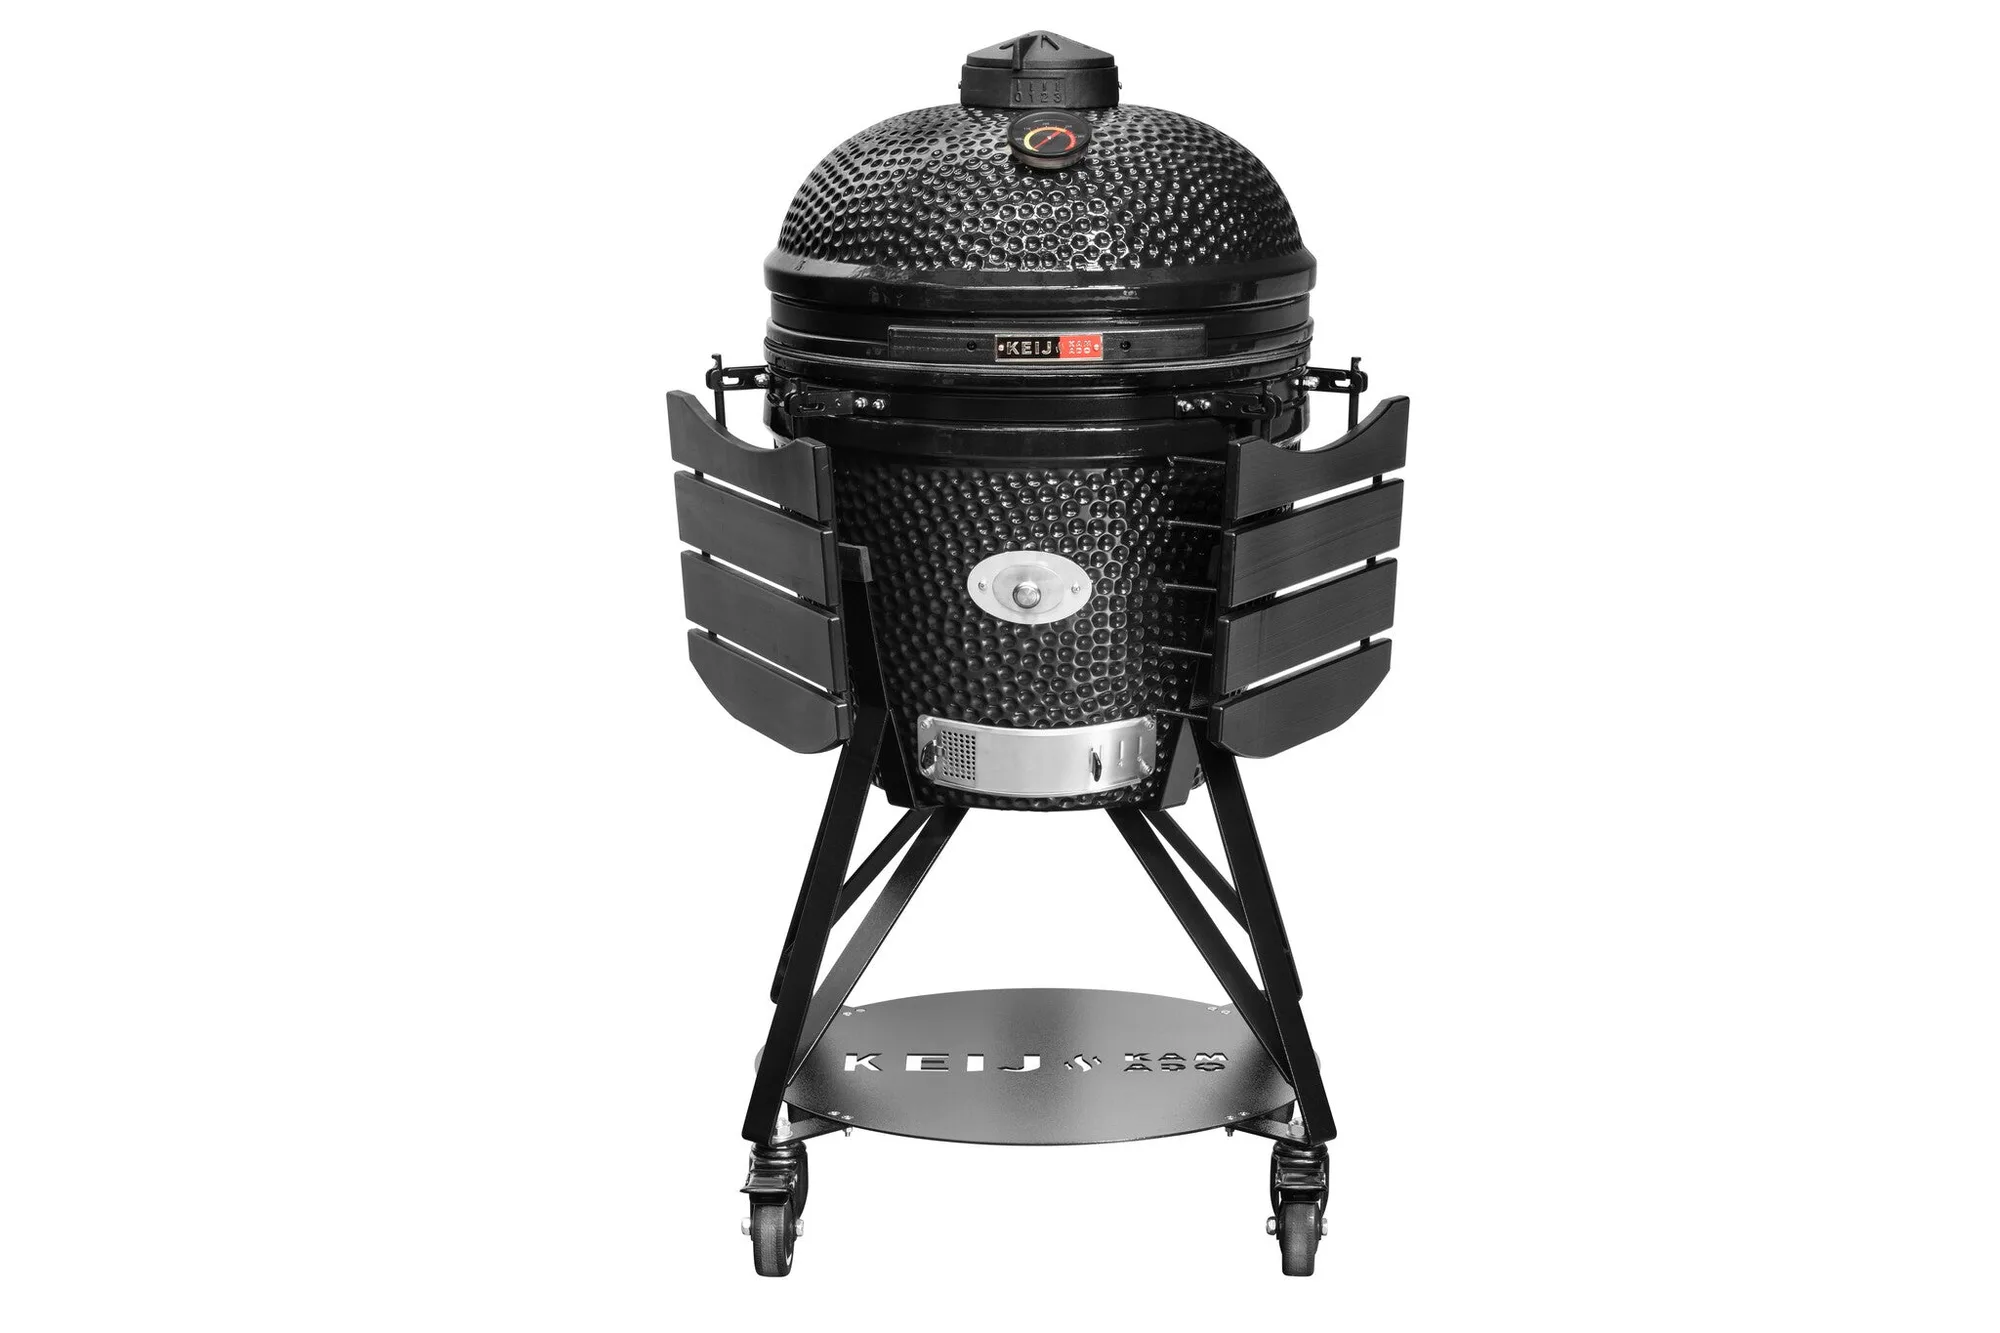
Keij Kamado Pro Large 21 inch
Why: you don't need side tables if your own worktop stands next to it. Thanks to the wheels, you can roll it away to clean it.
Keij Legend Large Solo: just the kamado
The Solo is the same 21 inch Legend with a 47 cm grate and the same ceramic warranty, but according to the product information it is supplied without a base, side tables, Divide & Conquer or protective cover. The manufacturer describes it as ideal if you already have a base.
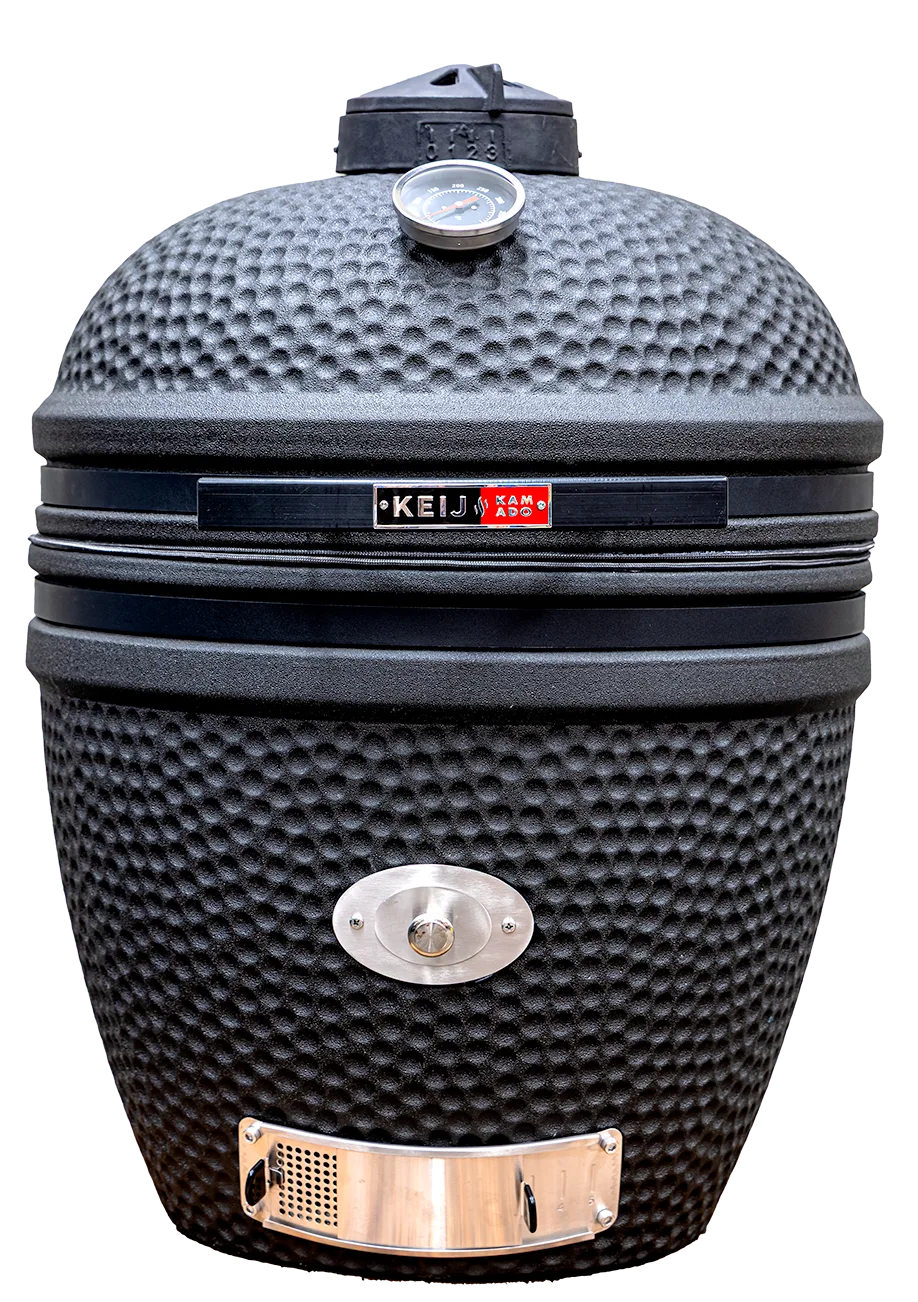
Keij Legend Black Large 21 inch Solo
Note: a kamado must always stand on a suitable base. Check with the shop which base belongs with the Solo before you order.
You can also browse all kamado barbecues and the barbecue accessories. To learn how to light a kamado and keep it at temperature, read how to use a kamado barbecue.
Power, lighting and water
This is where the biggest difference lies between a handy outdoor kitchen and an unsafe one. Keep it simple, and leave the real installation work to a professional.
Power
If you want a power socket by your outdoor kitchen, have it installed by a certified installer. Outdoors, different rules apply to cables, connections and protection than indoors, and it's not a job to try yourself. Don't run an indoor extension cable permanently outside.
Lighting
For lighting, a 12V system is a practical choice. A transformer converts mains power to 12 volts and plugs into an outdoor socket; you then connect the lamps yourself. A wall lamp above the worktop provides task lighting, and a string of lights overhead creates atmosphere. To find out how such a system works, read installing garden lighting with a 12V system.
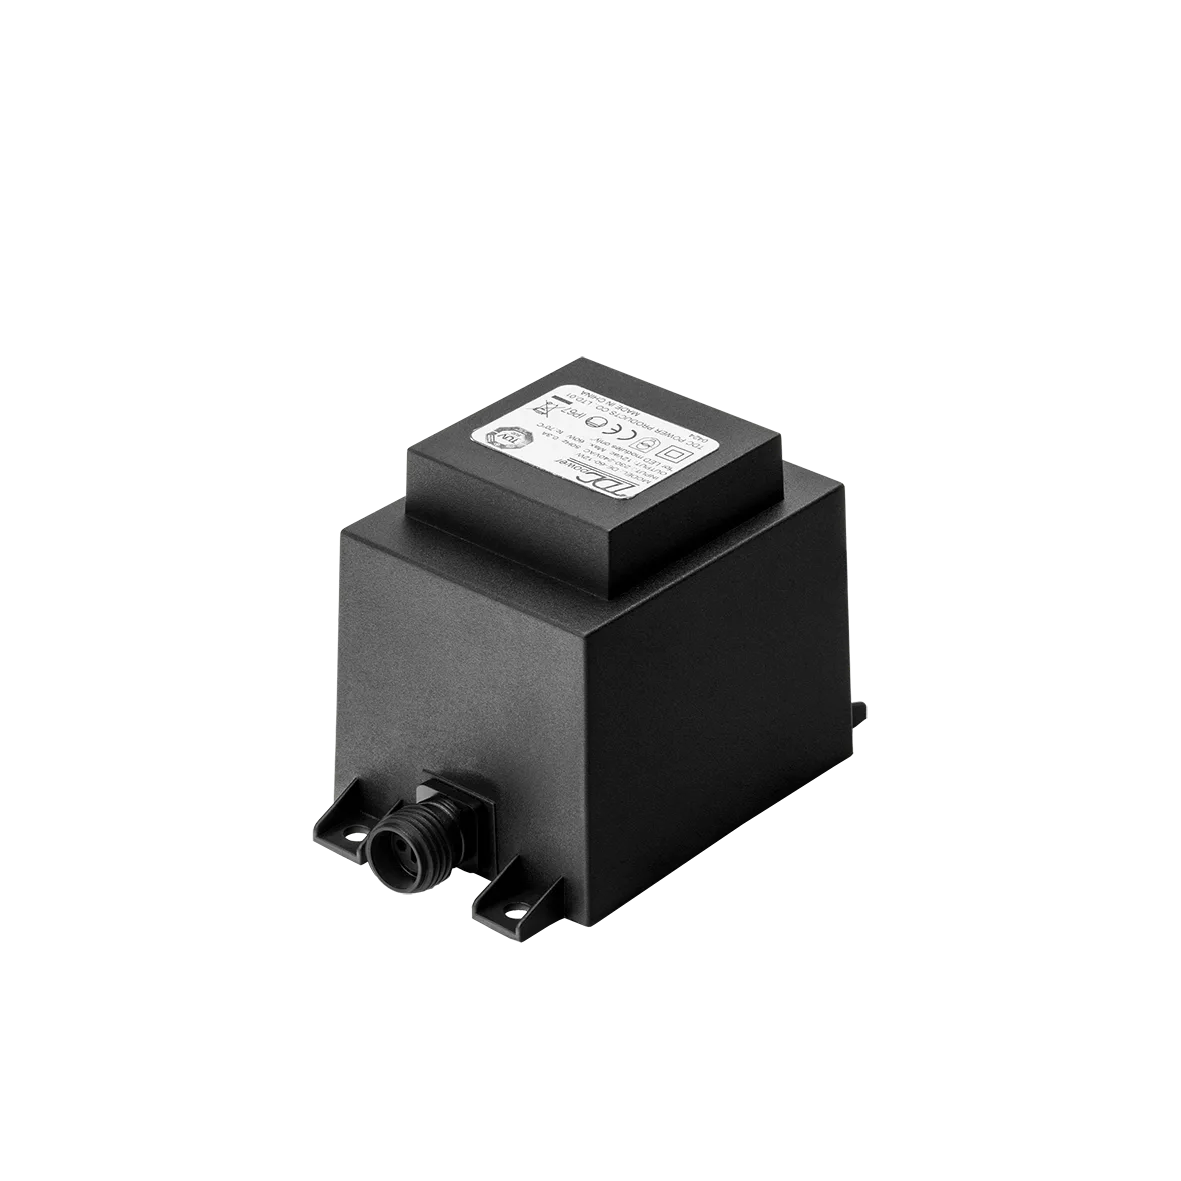
Transformer 60W, 12V
View transformer →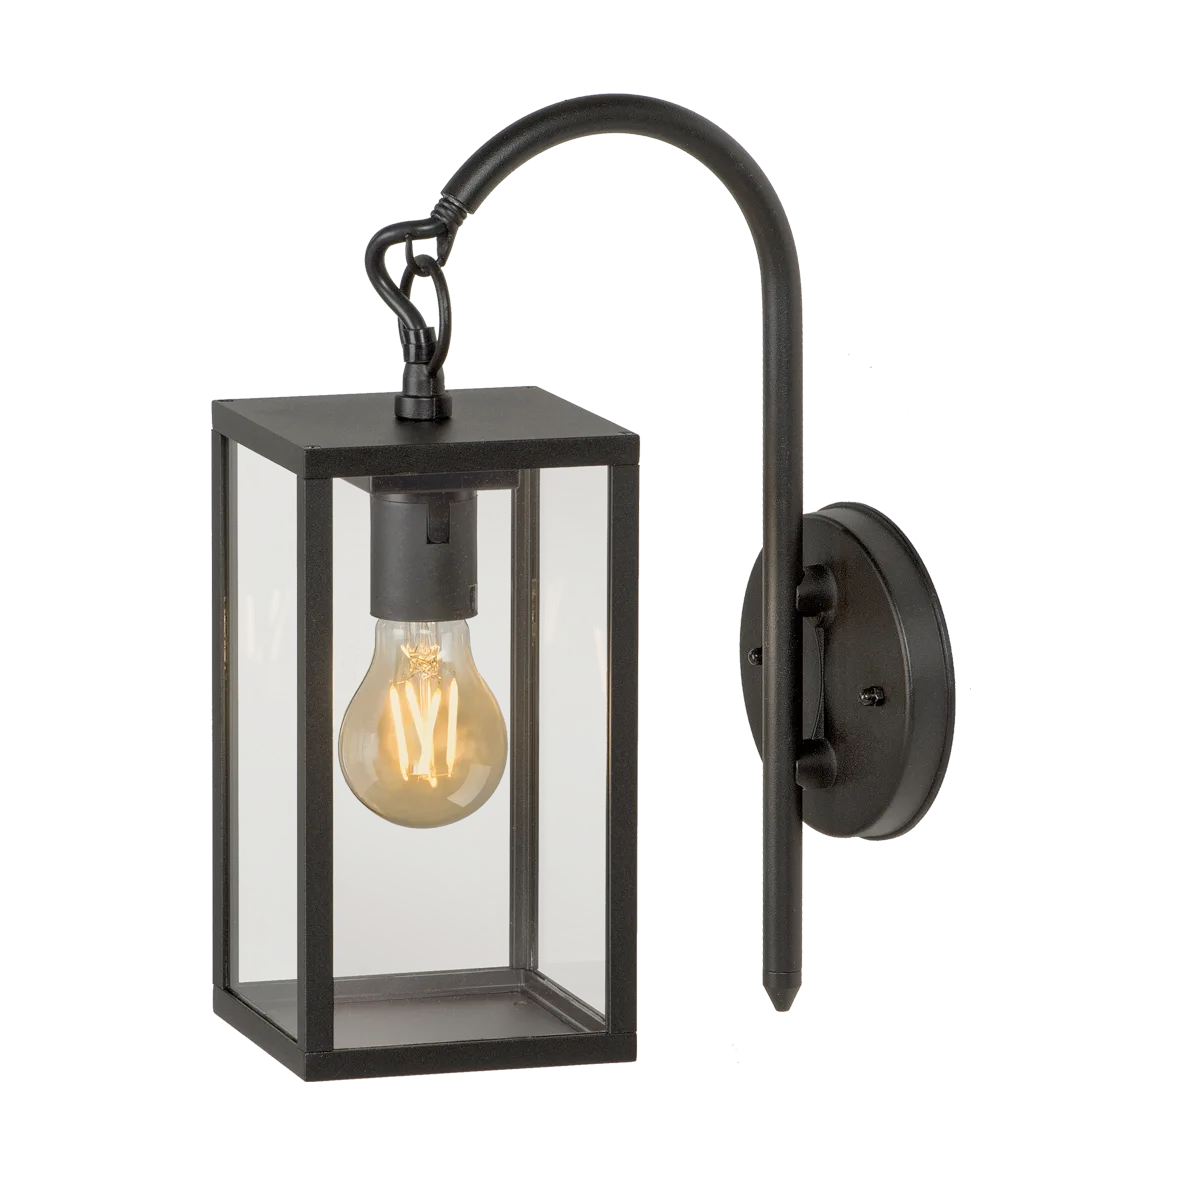
Columba wall lamp, IP44
View lamp →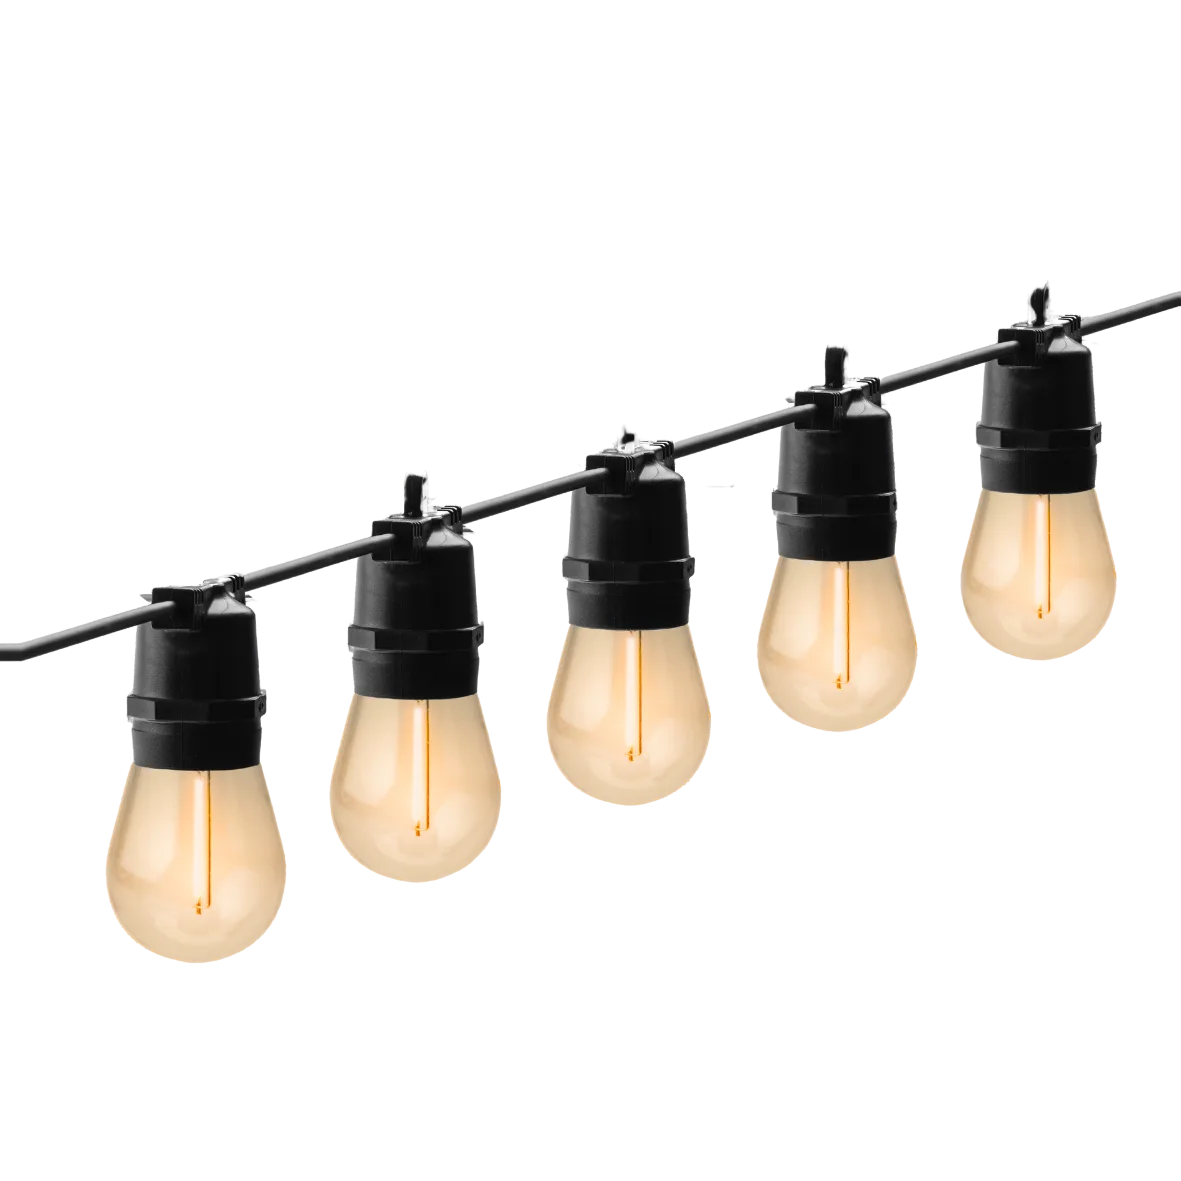
Partylights Filament, 10 bulbs
View light string →The Columba is an aluminium wall lamp with a 2000K filament LED and IP44 rating. The Partylights Filament is a string with ten bulbs at 2200K. Both run on 12 volts. You'll find more choice under wall lighting and ambient lighting.
Water
A sink with a tap is a luxury, but it requires a supply and a drain. Have a new water line installed by a plumber, and make sure you can shut it off inside in winter and drain it outside, otherwise it can freeze. Without a connection, you can also work perfectly well with a water can or an outdoor tap nearby.
Gas
If you later opt for a gas appliance, always have the connections and pipework made or checked by a certified professional. With a charcoal kamado, you don't need any of this.

How to build it in 7 steps
Consider wind direction, smoke, distance to the house wall, fence and canopy, and the route to the kitchen door. Watch for a few evenings where the sun and shade fall.
Put the three zones on paper: preparing, grilling and serving. Decide whether your barbecue will be freestanding or in an open recess, and keep clear worktop on both sides.
Lay tiles on a compacted sand bed or pour a concrete slab. Use a spirit level to check that everything is level, with a slight slope away from the house.
Brick, weld or screw the frame from material that can stay outdoors. Keep wooden parts off the ground so they can dry out.
Place the top at the right height, matched to your barbecue, with a small overhang. Finish wood with outdoor oil or stain.
Have a socket or water line installed by an installer. Connect lighting on 12 volts yourself to the transformer afterwards.
Place the kamado on its base in position, with space all around. Set out tools, charcoal and a cover, and put the dining table within easy reach.
Checklist for your outdoor kitchen
Tick off what you've already sorted, and you'll see at a glance what still needs doing.
- Spot chosen out of the wind, with smoke kept away from the seating area and neighbours
- Level, solid foundation with a slope away from the house
- Worktop on both sides of the barbecue
- Worktop height matched to the working height of your barbecue
- Space around the kamado for heat, air vents and ash drawer
- Power or water installed by an installer, or deliberately skipped
- Task lighting above the worktop, for example from the wall lighting
- Covers and a dry storage spot for charcoal and tools
Eating by the outdoor kitchen
An outdoor kitchen is only complete with a place to eat. Put the table close by, but not in the smoke. A large table with a top that can take a few knocks is handy here.
Scotland garden table 230x115 cm
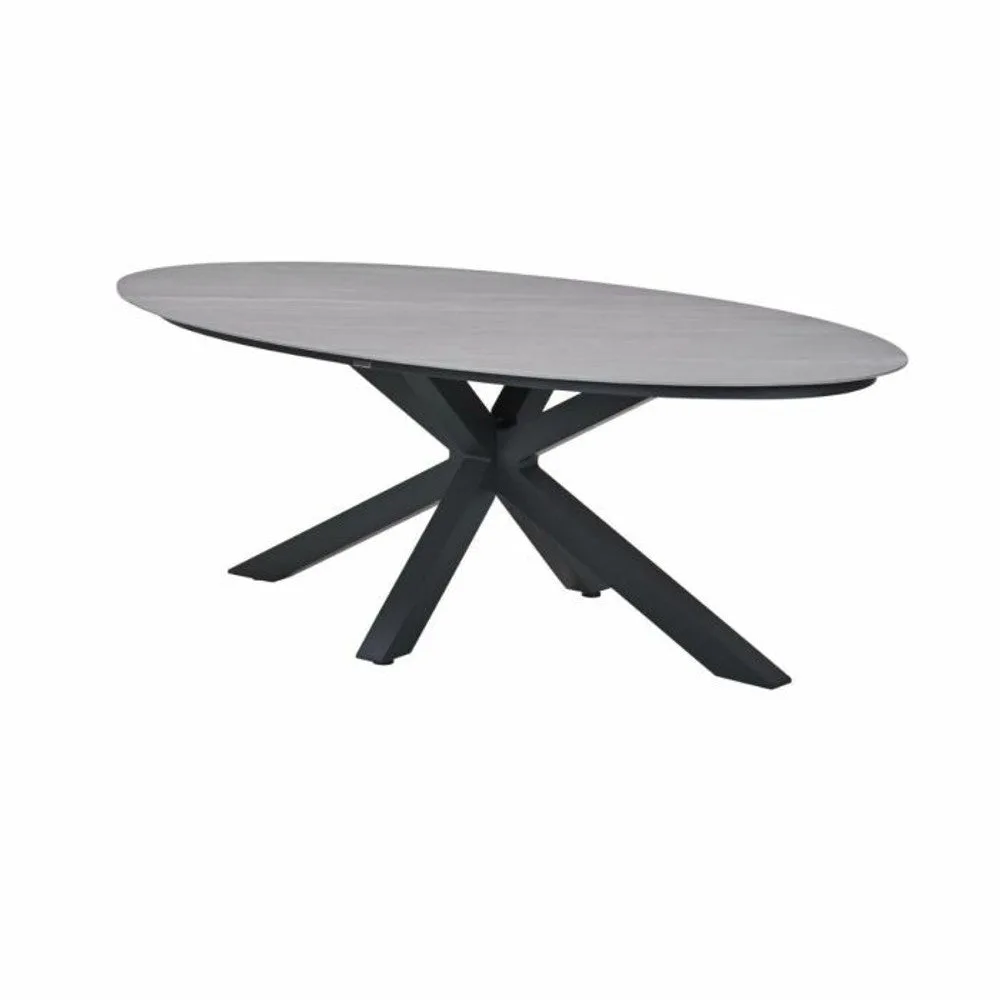
The Scotland has an aluminium frame and a Centostone top, is 76 cm high and is listed in the specifications as All Weather. You'll find more choice under garden tables for 6 people and garden sets. Not sure which garden set suits your terrace? Try the selection guide.
Keep it simple
- Start with a kamado on a base and one worktop, and expand later
- Choose materials that are intended for outdoor use
- Keep the barbecue free on all sides rather than building it in tightly
- Leave power, gas and water lines to a professional
Common mistakes
Building the barbecue in tightly
A kamado gets hot and needs air. Built in tightly between wood or plastic is risky, and you won't be able to reach the air vents and ash drawer easily. Leave space all around.
Too little worktop
A barbecue with only a small shelf on one side doesn't work. You need room for raw and for cooked food, on both sides.
Doing power or gas work yourself
An outdoor socket or a gas connection is not a DIY job. Have it installed by a certified professional.
Ignoring the wind
If the kitchen is positioned so that smoke always drifts towards your seating area or the neighbours, you'll cook there less often. Check first where the wind comes from.
Forgetting the winter
A water line that can't be drained can freeze. And a kamado without a cover collects rain and dirt. Think about winter while you're building.
Protecting your outdoor kitchen
The Legend Large and the Pro Large come with a protective cover as standard in the box. The Solo doesn't include a cover. A separate kamado cover is available from Platinum, for example: a round AeroCover cover of ø94 cm, made of breathable ripstop polyester with a drawstring and two stoppers. Measure your kamado including any side tables before choosing a cover. For the worktop and table, there are covers among the protective covers.

AeroCover kamado cover ø94 cm
View cover →
Marabu charcoal 10 kg
View charcoal →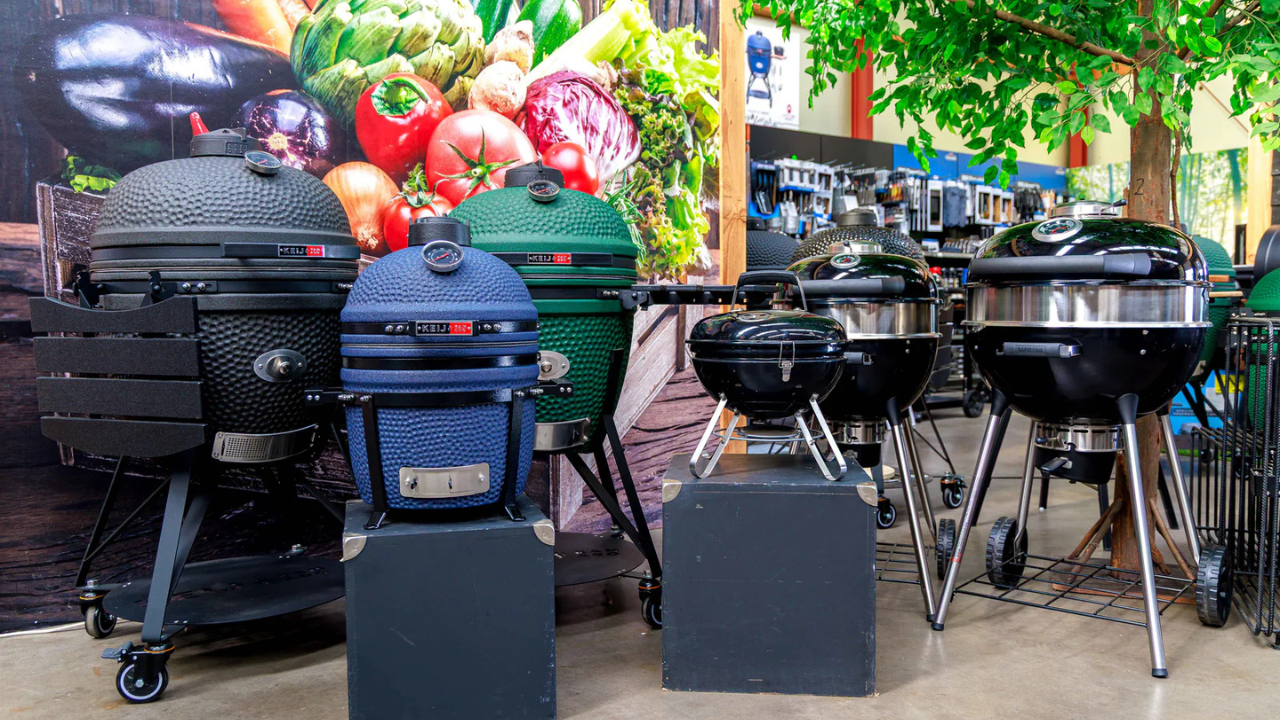
All Keij kamados
View range →After every session, remove the ash once the kamado has fully cooled, and keep charcoal dry. You can read more about cleaning in cleaning a kamado barbecue.
Frequently asked questions
Can you build an outdoor kitchen yourself?
Yes. With some DIY experience, you can easily build the frame, the worktop and the layout yourself. However, have a qualified, certified tradesperson install an outdoor power socket, a water supply or a gas connection. With a charcoal kamado and 12V garden lighting plugged into an existing outdoor socket, you often don't need those jobs at all.
Can you build a kamado into an outdoor kitchen?
The product information for the kamados in our comparison does not state that they are suitable for built-in installation. The ceramic becomes very hot on the outside, and the air vents at the bottom and top must remain unobstructed. The simplest and safest choice is therefore a kamado on its own stand, either next to your worktop or in an open recess within it. If you still want to build it in, follow the manufacturer's instructions or check with the retailer first.
Which worktop is best for an outdoor kitchen?
Stone-like surfaces such as ceramic, natural stone and concrete cope well with weather and heat and require little maintenance. Hardwood looks warm but needs oiling from time to time, and stainless steel is easy to keep clean but gets hot in the sun and shows scratches. In any case, choose a worktop that is designed for outdoor use.
Do I need electricity and water in my outdoor kitchen?
Not necessarily. A kamado runs on charcoal and does not need electricity. For lighting, you can use a 12V system with a transformer plugged into an existing outdoor socket. If you want a new socket or running water at the kitchen, have an installer fit it and make sure an outdoor tap can be shut off and drained over winter.
Do I need a permit for an outdoor kitchen?
That depends on what you are building and where. A freestanding unit with a worktop is different from a canopy or a permanent structure built against the property boundary. If you're unsure, check the Omgevingsloket (the Dutch planning and permits portal) or ask your local council before you start.
How do I winterise my outdoor kitchen?
Drain and shut off the outdoor tap, and close it off inside. Once the kamado has cooled down completely, remove the ash and cover it with a breathable cover. Clear the worktop and let it dry, oil the hardwood if needed, and store cushions, chopping boards and tools somewhere dry.