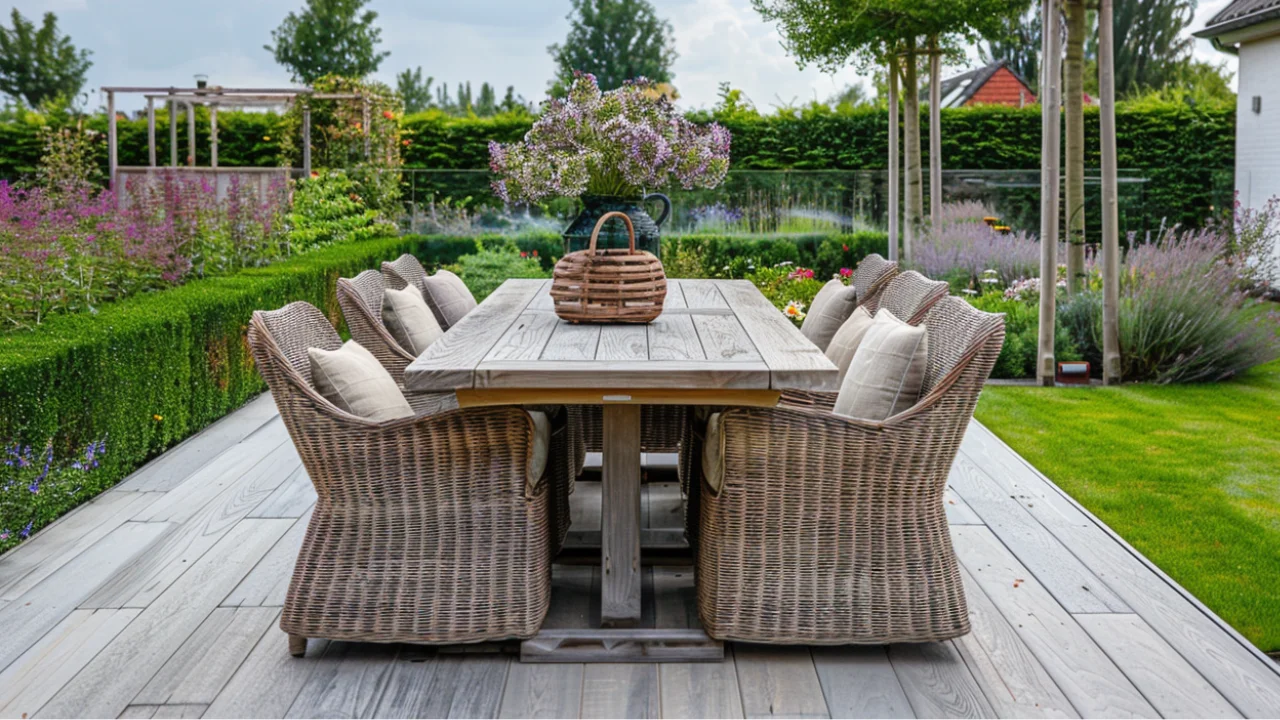

How enjoyable is it to enjoy a homemade garden table in your garden? If you're a bit handy and like to get stuck in, this DIY project is truly something for you. With this handy step-by-step plan, you can build a sturdy garden table made from scaffolding wood entirely yourself. And believe us: such a handmade piece of furniture gives extra satisfaction when eating or socialising outdoors.
In this blog, we explain step by step how to make your own garden table. We use scaffolding wood, but of course you can choose another type of wood – simply get everything you need from your local DIY store.
Step 1: cut everything to size
You can cut the planks to size yourself or have this done at, for example, Hubo or another DIY store. Follow the cutting list below:
| Item | Quantity | Material | Size | Length |
|---|---|---|---|---|
| A | 8 | Scaffolding wood | 30 x 195 mm | 720 mm |
| B | 5 | Scaffolding wood | 30 x 195 mm | 2450 mm |
| C | 2 | Connector batten | 30 x 62 mm | 2370 mm |
| D | 4 | Connector batten | 30 x 62 mm | 835 mm |
Step 2: make the tabletop
- Place the connector battens C (long) and D (short) on a flat surface in a rectangle. Screw the long battens against the end grain of the short battens.
- Add two more short battens D at 1/3 and 2/3 of the length. Here too, screw the long battens against the end grain.
- Attach the five long planks B to the structure. Make sure there's an overhang of approximately 3 cm on all sides.
This creates your tabletop!
Step 3: make the legs
Now that the base is ready, it's time for the legs:
- Screw two planks A together along the long side each time. This becomes one leg.
- Repeat this four times, so you have four sturdy table legs.
Step 4: attach legs to the top
Turn the tabletop over on a flat surface.
- Position the legs on the outside underneath the tabletop, against the connector battens.
- Make sure they're properly square and screw them firmly to the end grain of the top.
Now it really starts to look like a garden table!
Step 5: finishing touches
For a long lifespan, it's important to finish your garden table properly:
- Sand the wood thoroughly first and clean the planks.
- Then treat with oil or wood stain if you want to retain the natural wood look.
- Prefer some colour? Then use a primer followed by exterior paint in your desired shade.
Done? Time to enjoy!
In just five steps, you've built your own sturdy scaffolding wood garden table. A perfect project for a free Saturday or DIY weekend. And the best part? You've created something unique that perfectly suits your garden and style.
Enjoy your DIY project!
Best wishes from Boender Outdoor Garden Furniture
Looking for inspiration or accessories for your new table? Take a look at our webshop!
Also read: Buying a garden table: what should you look out for