
Making your own garden bench is a lovely project for a few days off. You decide the length, the height and the wood, and you end up with a bench that fits exactly into your corner of the garden. Even so, a first bench often goes wrong: the seat is too deep, the wood splits when you screw it, or after one winter there are rust stains around the screws. This article shows you how to approach it: from design and dimensions to materials, tools, a step-by-step plan and the finish. And if you think halfway through that buying is easier after all, you'll find a few ready-made garden benches as an alternative at the bottom.
In short: start with a working drawing with dimensions: many garden benches have a seat height of around 40 to 45 cm and a seat depth of around 45 to 55 cm. Choose wood for outdoor use, use stainless steel screws and always pre-drill. Treat the wood before you assemble it, leave a gap between the seat slats and don't stand the legs directly on wet ground. Not sure? Check the comparison of making or buying.
Preparation: location, shape and use
Good preparation is half the job. Before you buy any wood, answer a few questions:
- Where will the bench stand? On tiles, on a decking platform or on grass? In full sun or under a tree? Wood in a damp, shady spot has more to put up with than wood on a sunny terrace.
- What will you use it for? Sitting for a moment by the front door calls for a different bench than lounging for hours or eating at a table. That determines the seat height and the seat depth.
- Which shape? A straight bench without a backrest is the simplest. With a backrest and armrests it becomes more comfortable, but also more work. A corner bench is one step further: two sections that have to line up precisely.
- Does it need to be movable? A bench made of hardwood becomes heavy. If you want to put it in the shed in winter, keep it short or choose a lighter type of wood.
Are you also building a table? Then read how to make your own garden table. There you'll find the steps for the tabletop and the base, so you can match your bench and table to each other.
Design and dimensions of your bench
Always make a working drawing, even if it's just a sketch on squared paper. Mark the overall dimensions, the seat height, the seat depth and the sizes of all the separate parts. This way you immediately get a cutting list and know how much wood you need.
The dimensions below are guidelines, not fixed rules. They match what you see on many ready-made garden benches.
| Dimension | Guideline | Note |
|---|---|---|
| Seat height | Around 40 to 45 cm | Higher is easier to get up from |
| Seat depth | Around 45 to 55 cm | Deeper only with back cushions |
| Width per person | Around 50 to 60 cm | Slightly more with armrests |
| Backrest | Angled slightly backwards | Sitting bolt upright is less comfortable |
Why that seat height? A commonly used rule of thumb is that you sit comfortably when your feet are flat on the ground and your thighs are roughly horizontal. The lower you build, the more you'll lounge, but the more effort it takes to stand up. You can read everything about seat height, seat depth and cushions in how high should a garden bench be at minimum.
First measure a chair or bench that you really enjoy sitting on and transfer those measurements to your drawing. That works better than a measurement from the internet, because that one isn't matched to your height.
Factor in the cushion
If you put a seat cushion on it, you'll sit higher than the wooden frame. A cushion does compress when you sit down. If you want a fixed seat height with a cushion, subtract part of the cushion thickness from the height of the frame. You'll find a suitable cushion among the bench cushions.
Which wood should you choose?
For a garden bench you want wood that can cope with the outdoors, doesn't split easily and is easy to work. The most popular types for a homemade bench:
- Douglas fir and larch: softwoods that naturally cope reasonably well outdoors, are easy to get hold of and cut nicely. A popular choice for a first bench. The wood contains resin and may have some knots.
- Impregnated pine: affordable and light. The impregnation protects the wood, but mainly on the outside: you'll need to treat saw cuts and drilled holes yourself.
- Hardwood (for example bangkirai): heavy, hard and long-lasting. Harder to saw and always pre-drill. Lovely if you want a sturdy bench that will stand for years.
- Oak: strong and beautiful, but the tannic acid reacts with ordinary steel and then causes black stains. Definitely use stainless steel here.
Preferably buy planed wood: it's smoother and gives fewer splinters than rough-sawn wood. If you want to compare wood types in more detail, read popular wood types for garden furniture.

Materials and tools
Get everything ready before you start. That way you won't have to pop to the DIY shop halfway through.
Materials
- Beams or battens for the legs and frame
- Planks for the seat and the backrest
- Stainless steel screws in a few lengths, and possibly carriage bolts for the legs
- Waterproof wood glue for outdoor use (D3 or D4)
- Sandpaper in a coarse and a fine grit
- Wood stain, oil or varnish for outdoor use, if you want to treat the wood
- Plastic caps, feet or tiles to keep the legs dry
Tools
- Tape measure, pencil and set square
- Handsaw, mitre saw or circular saw
- Cordless drill with wood drill bits, a countersink bit and screwdriver bits
- Glue clamps or screw clamps
- Spirit level
- Sander or sanding block
- Brush for the finish
- Safety goggles, ear protection and a dust mask
Step-by-step plan in 8 steps
This step-by-step plan is for a straight wooden bench with a backrest: two side frames with legs, cross battens between them, seat slats on top and a backrest. If you have a different design, the order will largely stay the same.
Draw the bench from the front and from the side with all the dimensions. Write down for each part how many pieces you need and how long they should be. Check the seat height and the seat depth once more against a chair you find comfortable.
Saw the legs first, then the battens, and the planks last. Ideally cut identical parts in one go using a stop block or a sawn-off piece as a template, so they end up exactly the same length. Work square using the set square.
Sand all the parts first coarsely and then finely. Round the edges of the seat and the backrest slightly: it's more comfortable to sit on, gives fewer splinters, and paint or stain adheres better to a rounded edge than to a sharp one.
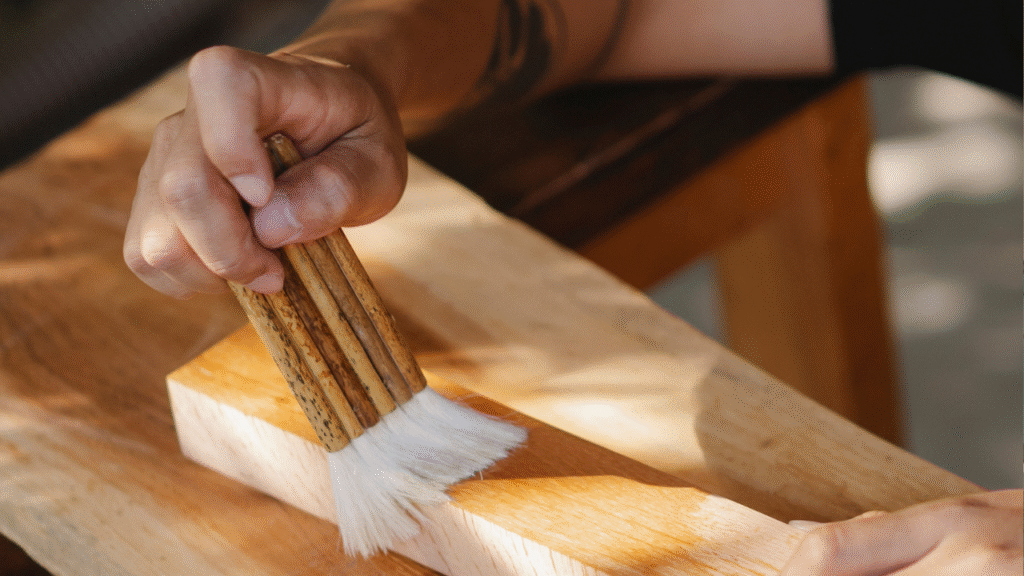
Apply stain, oil or varnish before you put the bench together. That way you also reach the spots that will end up touching each other later. Treat end grain and saw cuts extra well, as that's where most moisture soaks in. Let everything dry thoroughly.
First make the two side frames: two legs with a cross batten where the seat will sit. Connect the frames with long battens at the front and back. Use glue and screws, or carriage bolts at the legs. Measure the diagonals: if they're equal, the frame is square.
Lay the seat slats on the frame with a small gap of a few millimetres between them. That way rainwater can run off and the wood has room to move. A piece of offcut batten works well as a spacer. Pre-drill, countersink the screw heads and use two screws per slat on each batten.
Fix the backrest uprights firmly to the side frame, preferably with bolts, as a lot of force is applied here. Let the backrest tilt slightly backwards. Then screw the backrest slats in place and, if you wish, fit the armrests.
Sand any rough spots and give the bench a final coat. Place it level in its spot. Don't let the legs stand directly in grass or soil: set them on tiles or use caps or feet, so the end grain stays dry.
Build it on site or close by
A wooden bench soon becomes heavy. So assemble it as close as possible to where it will stand, or build it in two parts that you only join together once you're there.
Finish: wood stain, oil, varnish or nothing
How you finish the bench determines how it looks and how much maintenance it will need later on.
| Finish | Result | Maintenance |
|---|---|---|
| Untreated | Weathers to grey over time | Cleaning |
| Oil | Natural, matt look | Oil again regularly |
| Wood stain | Colour and protection | Refresh every few years |
| Varnish | Sealed, glossy layer | Refresh when damaged |
Always choose a product intended for outdoor use and follow the drying time on the packaging. With impregnated wood you often need to wait a while before applying an extra coat; check the product packaging for that too. You can read about the difference between staining, oiling and varnishing in treating wooden garden furniture.
Make or buy?
Making your own bench is great fun, but it isn't always the most sensible choice. An honest comparison:
| Factor | Making it yourself | Buying |
|---|---|---|
| Size and shape | Entirely to your wishes | Choose from the range |
| Time | A few days' work | Ready quickly |
| Cost | Depends on wood and tools | Fixed, known in advance |
| Material | Mainly wood | Also aluminium, wicker, rope |
| Maintenance | Wood needs attention | Aluminium requires little work |
| Warranty | None | Often included |
Making it yourself is mainly worthwhile if you're looking for an unusual size, enjoy working with wood or already own the tools. If you want little maintenance or a comfortable bench with cushions straight away, buying is often the easier option. Still unsure about the material? Read the comparison of garden bench materials. And not sure whether you need a bench, a lounge set or a garden set? The selection guide will help you on your way with a few questions.
Prefer to buy? Three ready-made benches
Below are three available garden benches from the range. All dimensions come from the product information; you can see the current prices on the cards.
Real wood: Montreal tete-a-tete garden bench
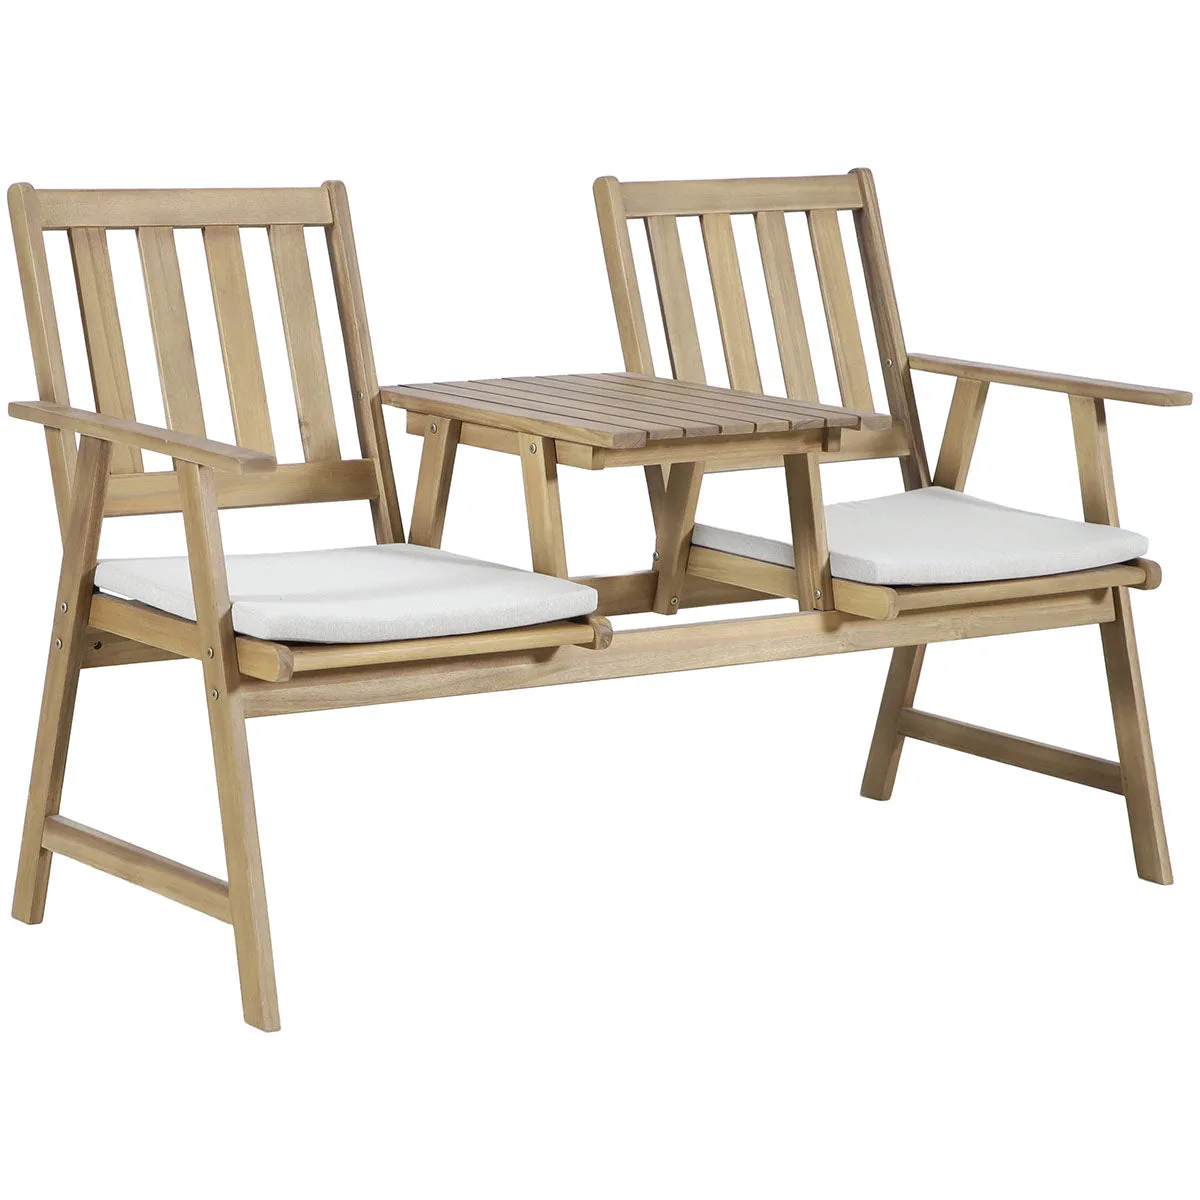
The Montreal is a tete-a-tete garden bench made of acacia wood for 2 people, with an acacia table top and 2 cushions in taupe. The seat height is 42,5 cm, the bench is 146,5 cm long and 91,5 cm high. A wooden bench, without having to saw it yourself.
Montreal tete-a-tete garden bench acacia
Please note: acacia wood is natural wood. Clean it with lukewarm soapy water and cover the bench during prolonged bad weather.
Wood look without maintenance: Jondal park bench
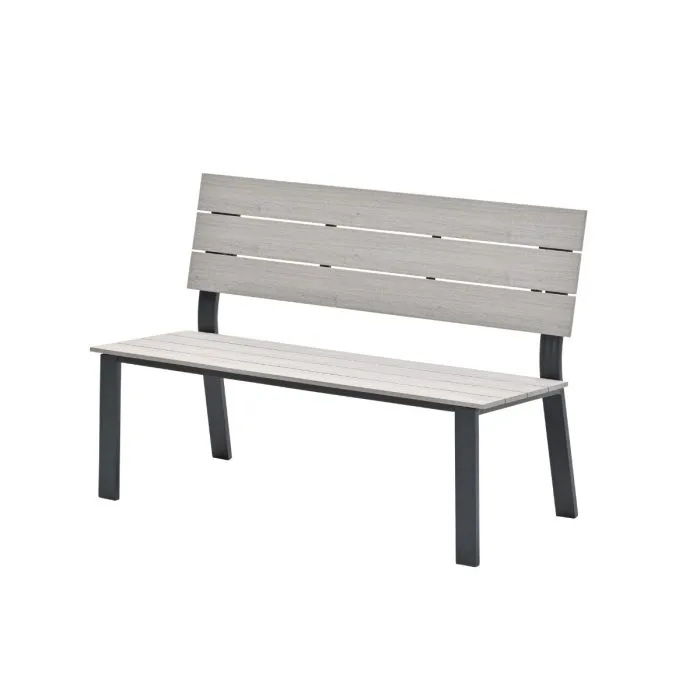
The Jondal is a two-seater park bench with a dark grey aluminium frame and light teak Vironwood. With a seat height of 42,5 cm and a seat depth of 56 cm, you sit upright, at the height of an ordinary chair. It weighs 12,7 kg, is 125 cm long and can carry up to 100 kg per seat.
Jondal park bench carbon black
High and easy to get up from: Bruno park bench
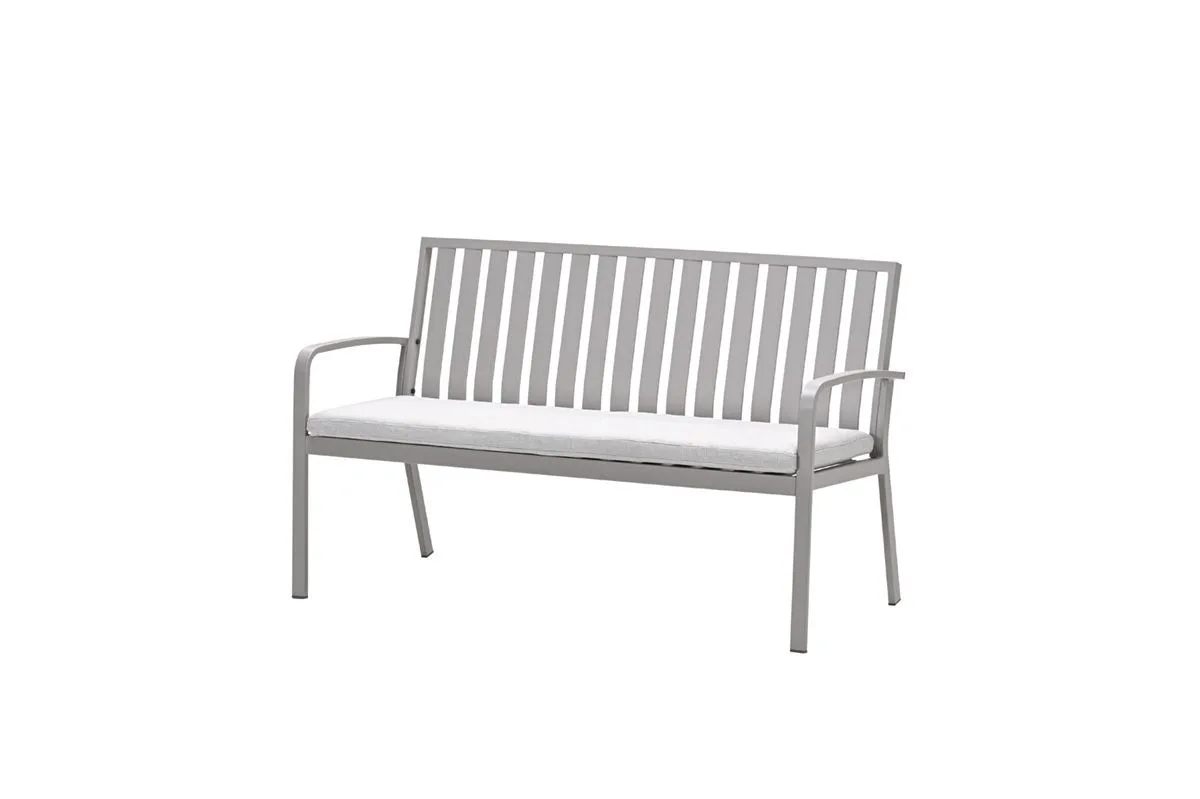
The Bruno is a two-seater park bench made of aluminium in taupe, with a cushion in sand colour. With a seat height of 49 cm, you sit higher than on most benches and get up easily. The bench is 150 cm long and 90 cm high.
Bruno park bench aluminium taupe
Also worth a look:
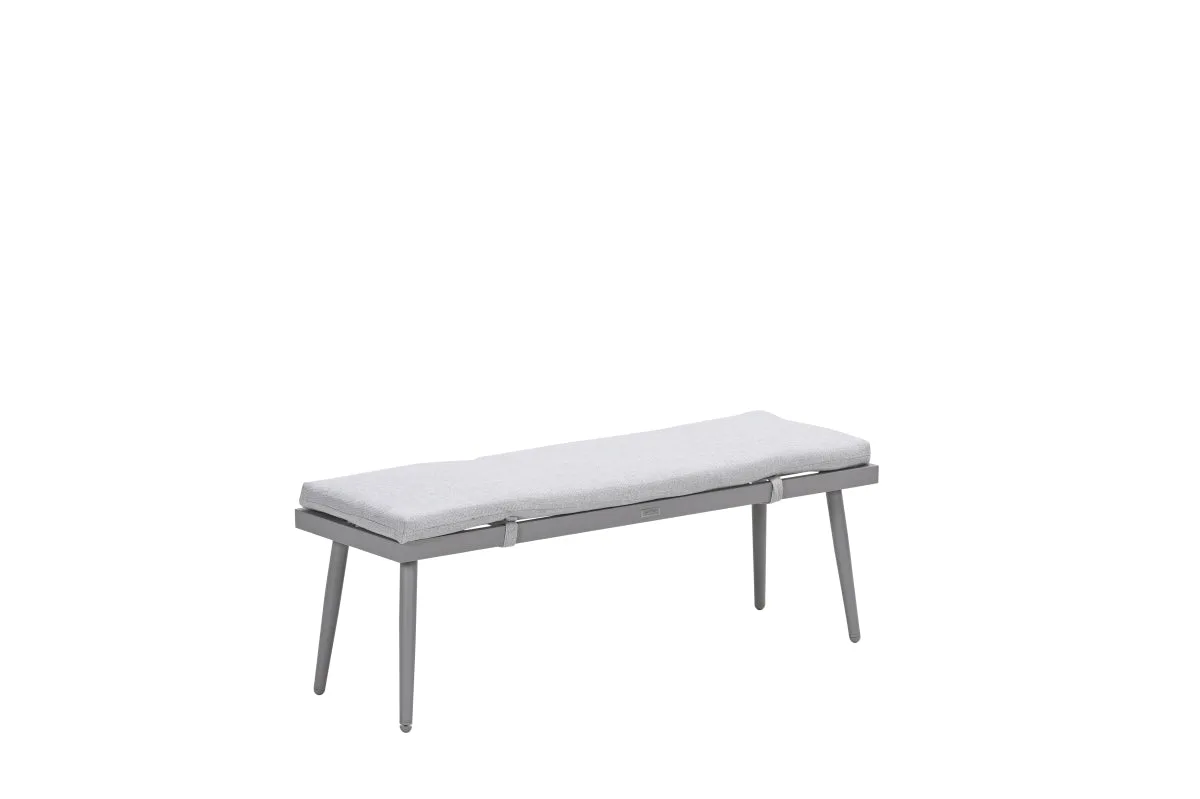
Barcelona sports bench 43,5 cm
View bench →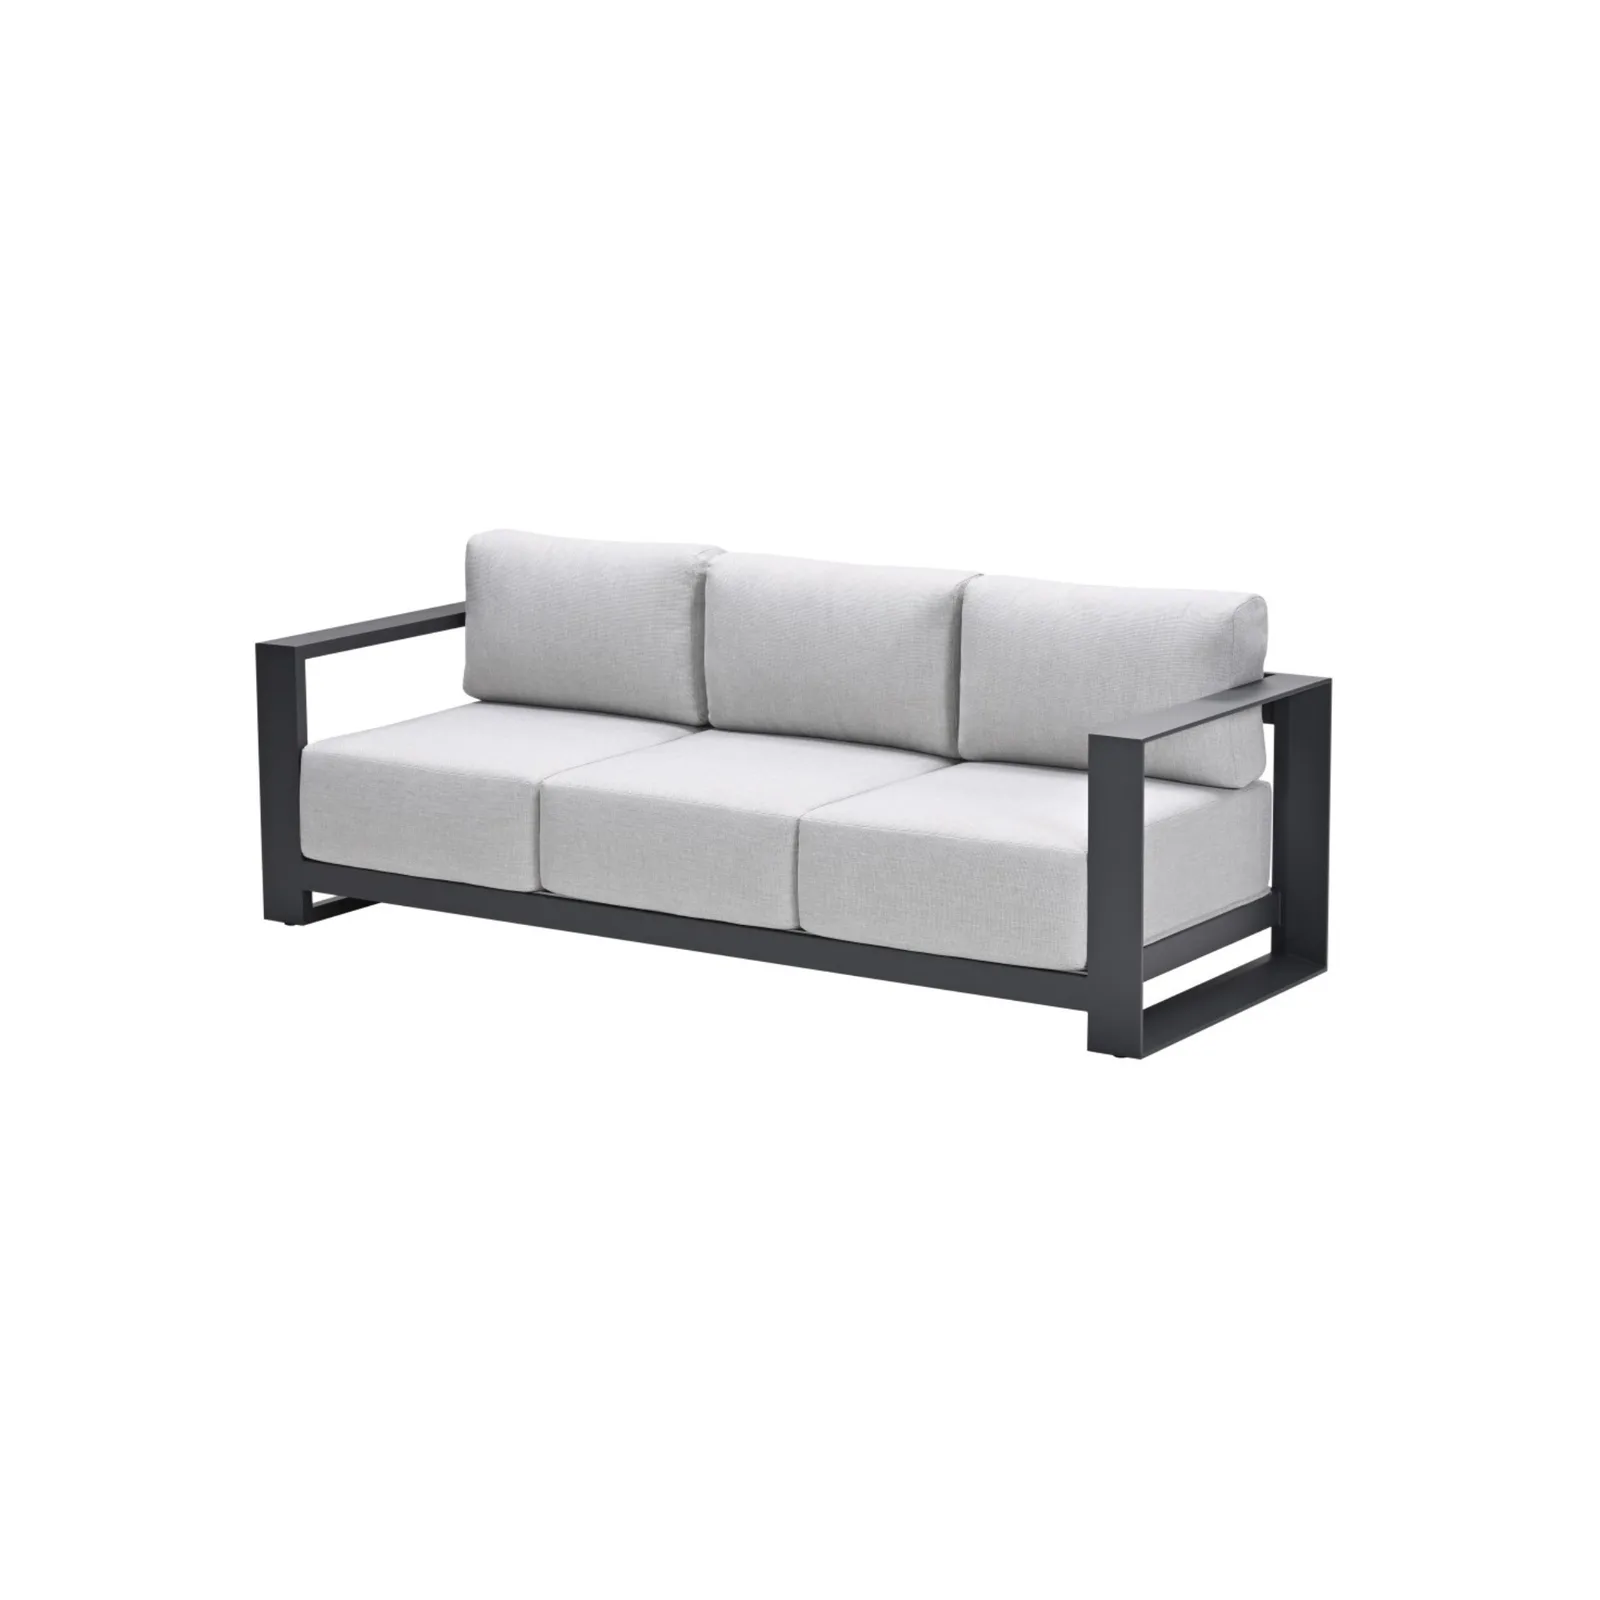
Levanto: deep lounging
View bench →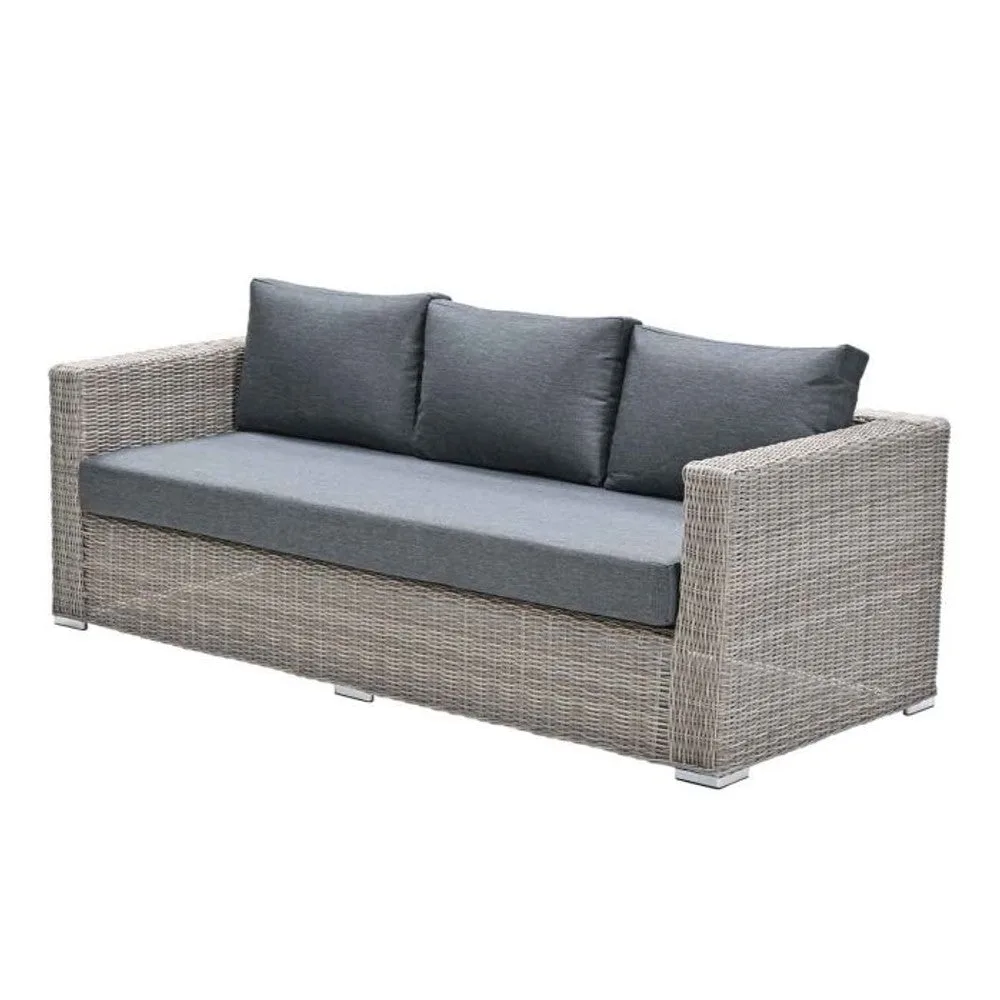
Tennessee three-seater bench
View bench →You'll find more choice in the wooden garden benches, the aluminium garden benches and the lounge benches, or in the top 10 garden benches of 2026.
Checklist before you start
- I know where the bench will stand and what the ground is like
- I have a working drawing with seat height and seat depth
- I have a cutting list and know how much wood I need
- I have chosen wood suitable for outdoor use
- I'm using stainless steel screws and waterproof wood glue
- I'm treating the wood before I start assembly
- The legs will sit on tiles, caps or feet
How to make your bench sturdy and durable
- Always pre-drill and countersink the screw heads
- Leave a few millimetres of gap between the seat slats
- Treat end grain and saw cuts extra well
- Fix the backrest with bolts, not just screws
- Measure the diagonals to check whether the frame is square
Common mistakes
Using ordinary screws
Ordinary steel screws rust outdoors and leave stains in the wood. With oak you even get black discolouration around the screw. Use stainless steel.
Not pre-drilling
Especially near the ends of a plank and with hardwood, the wood splits if you screw without pre-drilling. A crack close to a screw weakens the joint.
Laying the seat slats tight together
Without a gap, rainwater stays on the seat and the wood can't move. That leads to mould, warping and cracks more quickly.
A seat that's too deep
A seat of 60 cm or deeper seems roomy, but many people then can't reach the backrest without slumping. Without thick back cushions, keep the seat depth around 45 to 55 cm.
Legs directly on grass or soil
The end grain of the legs draws moisture up from the ground. That's usually where wood rot starts. Set the bench on tiles or use caps or feet.
Only treating after assembly
If you only treat a bench once it's assembled, you won't reach the joints and the areas under the planks. That's exactly where moisture lingers the longest.
Maintenance is part of the deal
A wooden bench looks its best when you clean it now and then and refresh the finish in good time. You can read how to go about this for each material and season in maintaining a garden bench.
Frequently asked questions
Which timber is best for a homemade garden bench?
For a first project, Douglas fir, larch and treated softwood are good choices: they are widely available and easy to saw and screw. Hardwood lasts longer but is heavier and harder to work, and you should always pre-drill it. In any case, choose timber intended for outdoor use and do not use indoor timber or chipboard.
How high and how deep should a homemade garden bench be?
Many garden benches have a seat height somewhere between 40 and 45 cm, roughly like an ordinary chair. If you want to stand up easily, make it a little higher; if you want a lounging feel, make it a little lower. For a straight bench without thick cushions, a seat depth of about 45 to 55 cm is a good guideline. If in doubt, measure a chair you find comfortable to sit on.
Which screws should you use for an outdoor garden bench?
Use stainless steel (RVS) screws. Ordinary steel screws will rust outdoors and leave stains in the timber. With oak and some hardwood species, plain steel can also cause black discolouration around the screw. Pre-drill and countersink the screw heads, so the timber does not split and nothing sticks out.
Should you treat a homemade garden bench?
It is not always necessary, but it does help. Untreated timber weathers grey over time; that is a natural process. With stain, oil or varnish you keep the colour longer and protect the timber against moisture. Preferably treat the components before you assemble them, and do not forget the end grain and the saw cuts.
Is making a garden bench yourself cheaper than buying one?
That depends mainly on the timber type and the tools you already have. A simple softwood bench can work out inexpensively, but with hardwood, stainless steel screws, stain and possibly new tools, the costs add up quickly. You also pay with your time. The biggest advantage of making it yourself is that you determine the size and shape entirely yourself.